Sometimes air gets trapped in tight spaces when slush casting and it's super annoying! However, with a little milliput, aves apoxy, magic sculpt , you can fix it. The brand names mentioned are just types of epoxy putty, a plastic-like two part "clay" that you mix and then cures into a hardened form. It can stick when pressed into/onto roughened surfaces so it is often used to repair holes in urethane casts, model kits, etc. The brands mentioned cure to a very firm hardness that sands well.
Please use gloves to mix this stuff, it is not great to touch with your skin. Also PLEASE wear a mask when sanding, you do not want the dust in your lungs!
Green Stuff is a version that has a little bit of flex to it. I am not sure how well it sands once cured, be sure to roughen your surface very well before applying. It can be sculpted with very fine detail!
feather lite is a super light putty that is good for filling in large voids especially on masks where keeping the weight down matters! I also use it to reinforce the insides of my finished masks where spots are thin. It is very annoying to sand once cured and the consistency is like frosting when mixed. It can be smoothed with water and i have found that brushing it with water after patting it down on the surface is very helpful for it sticking well.
So here we see some air bubbles that need fixing! They are easy to see with back lighting.
I use an xacto to carefully open the back of the air pocket's skin:
Now the inside of the voids are exposed and can be filled. If the voids are large enough, use the tip of the knife to score a few lines into the thicker inside surfaces to help the epoxy stick in there.
Here I am using milliput, a putty that has been around for a long time and is a staple in the hobby model kit world! It has a good stickiness and decently long work time. I roll little sausages and insert them into the voids:
I use a tool to mash the sausage into the void and really get it to press and stick in there. You will want to use a finger to support the back of the void "skin" so you dont rupture it while pressing.
Once everything is pressed in, a brush dipped in water can be used to smooth and press more:
Some of the milliput pushed through the other side! That's ok since we can just smooth that with a wet brush and then sculpt it to blend in with the texture:
Once you have sculpted the texture back in, use a wet brush to smooth it and blend to the surface even more. You will have about a half hour to work before the epoxy will start to cure- the warmer the room temperature, the faster the cure time. Leave it to cure overnight before you sand/drill. Different brands will have different cure times and textures. Magic sculpt is a little softer and more slippery when wetted while Aves Apoxy is more firm and tends to cure a little faster.
Epoxy putty can also be tinted while mixing by adding a few drops of resin dye.
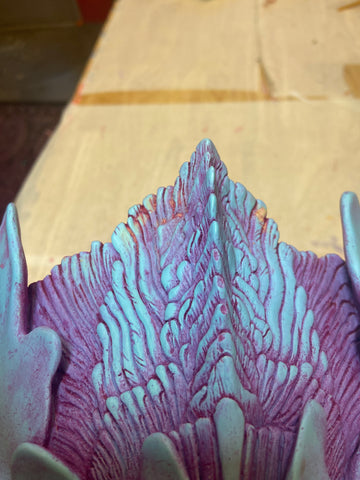
You can see dremel marks here, the milliput stayed firm! The mask has been cleaned up and i have started the painting process which is why some of it is tinted purple...
Here is the top with the milliput cured. Once this is painted, the putty will not be seen at all!