Regular price
$200.00
Sale price
$0.00
Unit price/per
This is a PREORDER and will not ship out for 4-8 weeks. This is for a blank kit for a pair of boot covers. Each boot consists of 7 parts- 3 parts make up the main shoe with 4 parts that make up the curved upper segments. Having them cast in parts allows the cover to flex without distorting. Buyer will need to be comfortable with finishing this kit to make them wearable. PLEASE review the tutorial before before buying!
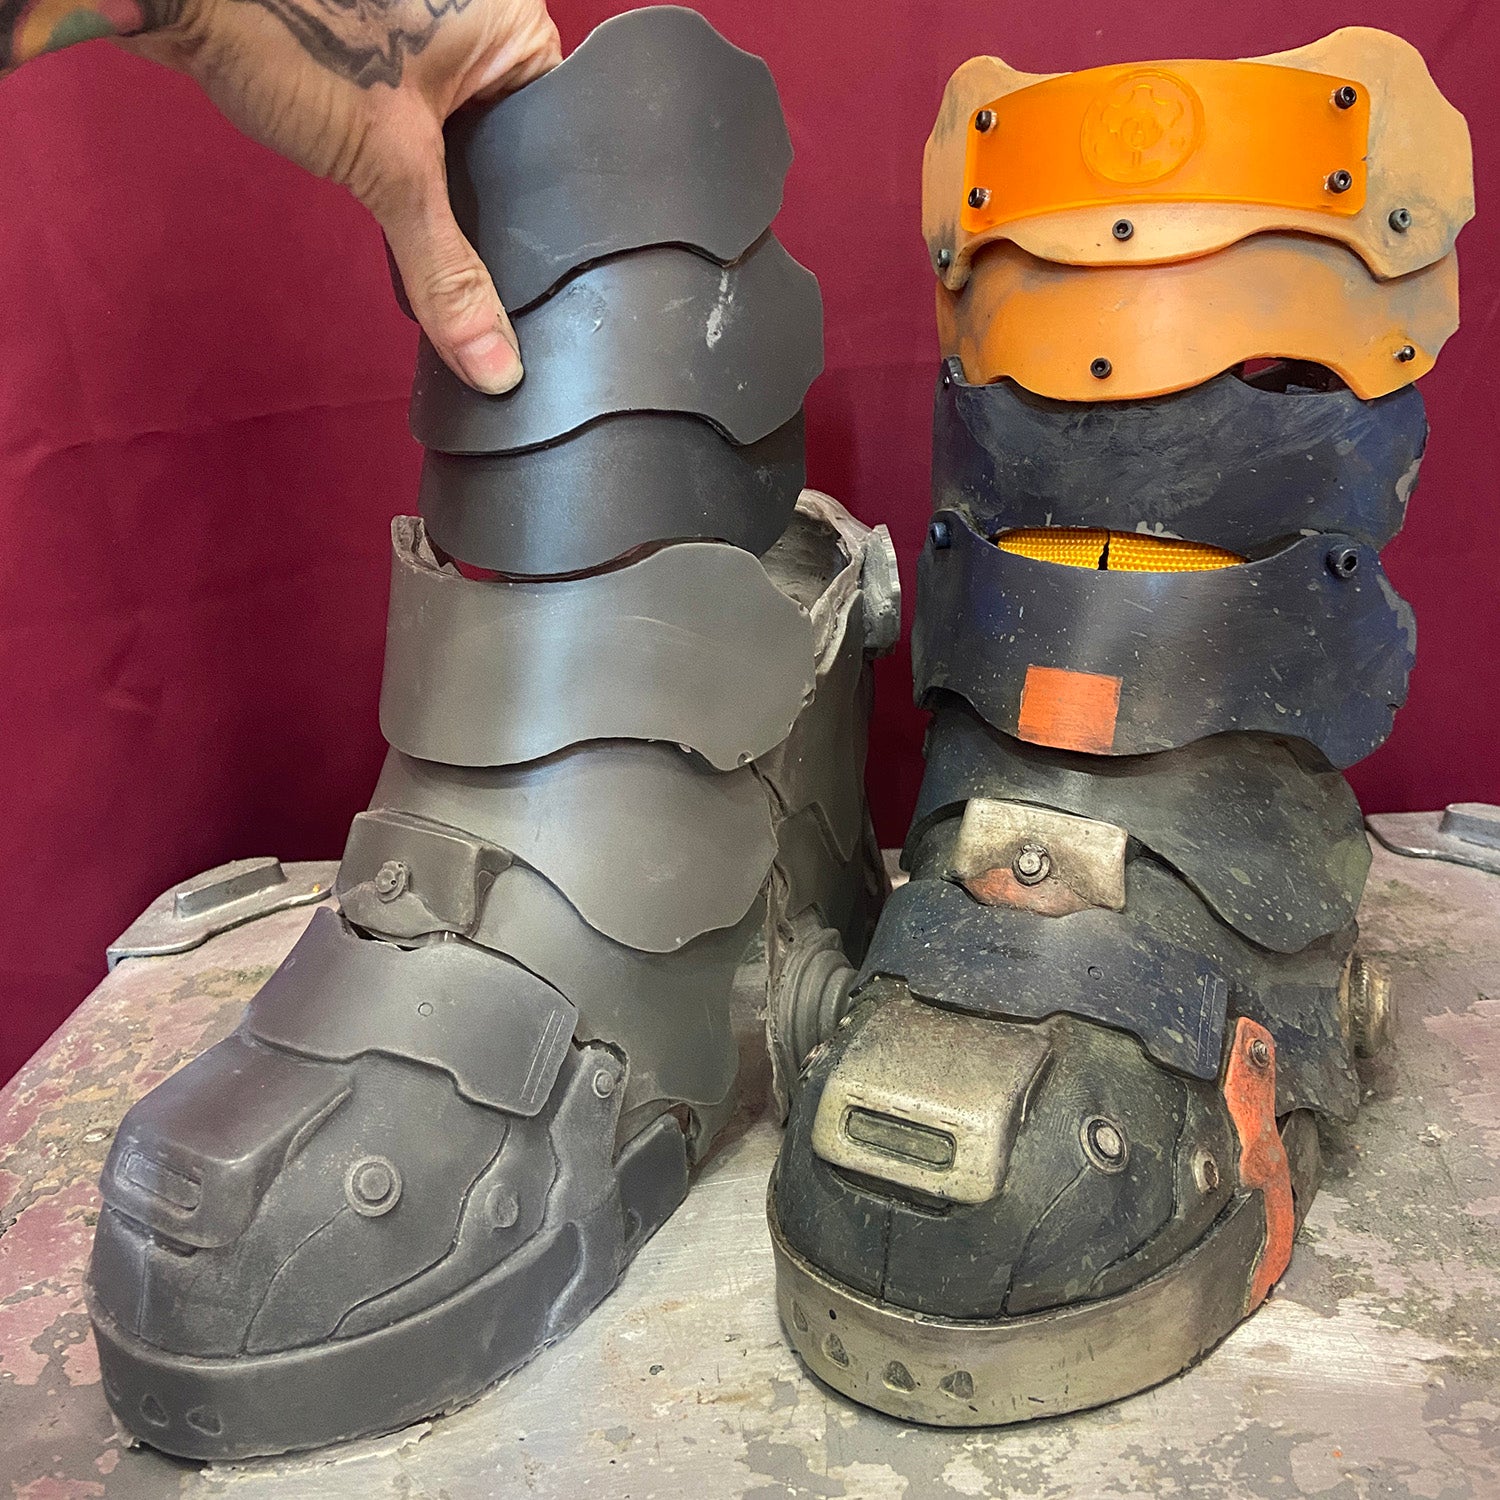
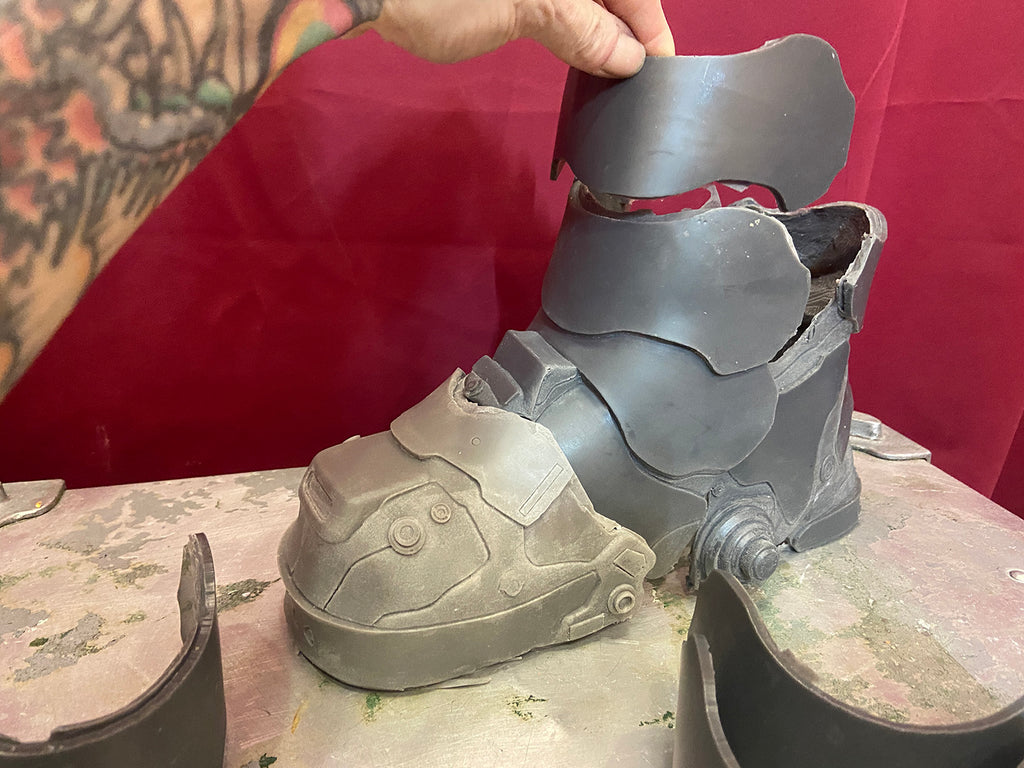
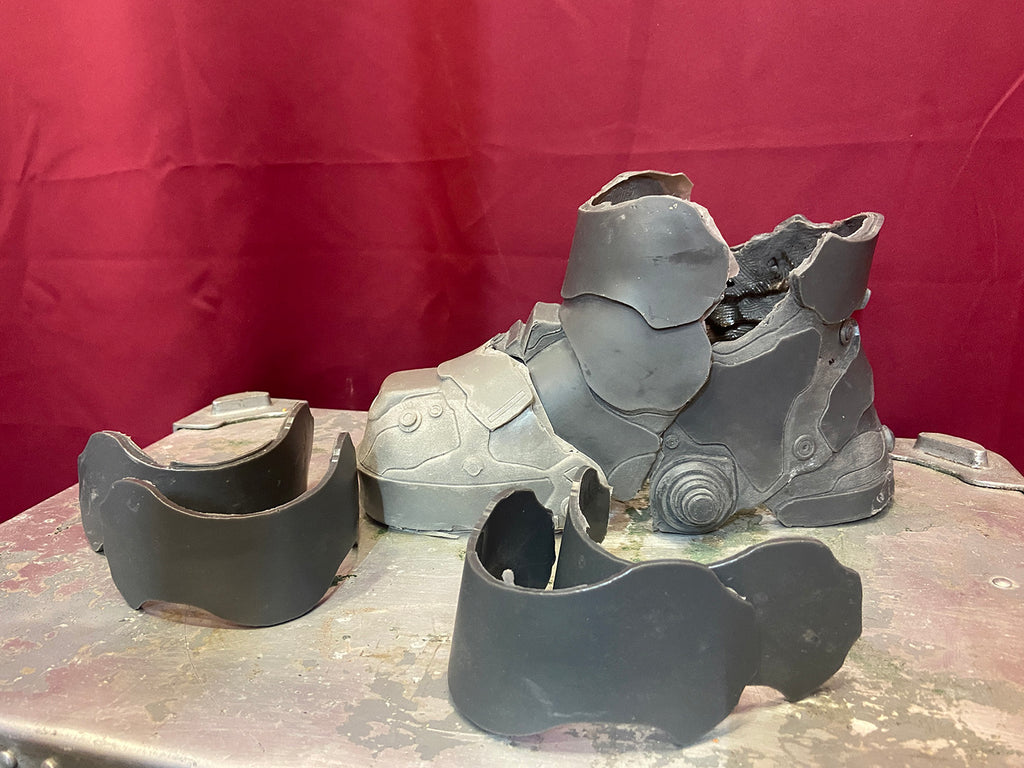
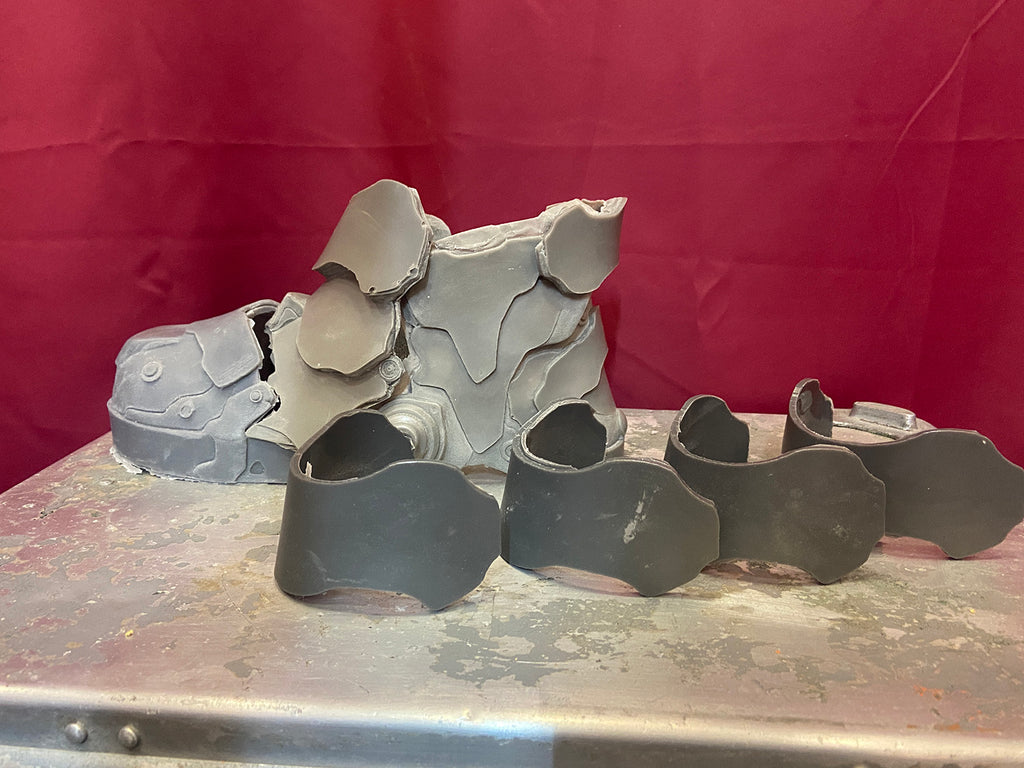
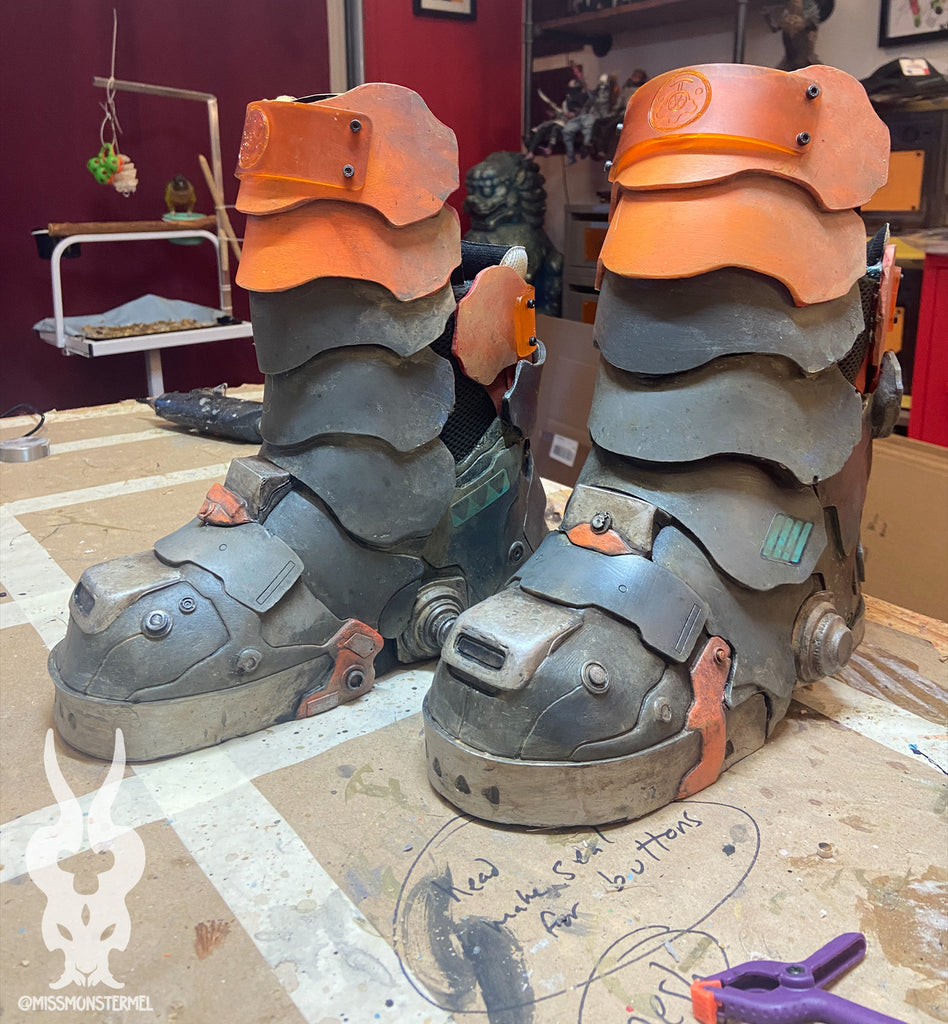
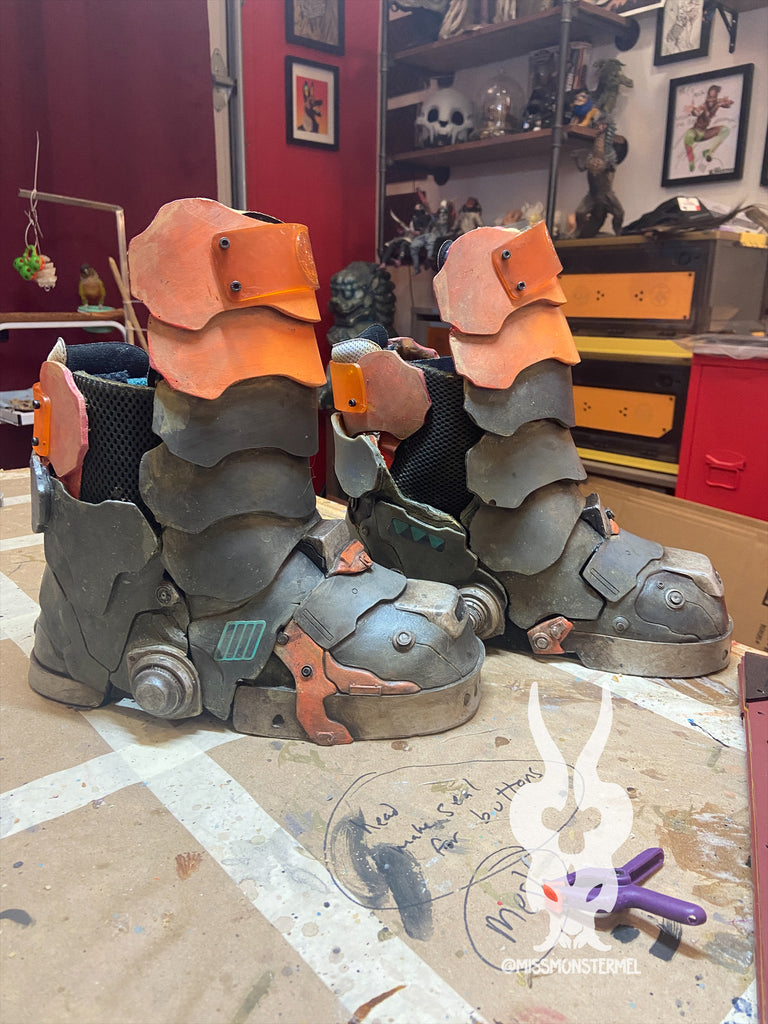
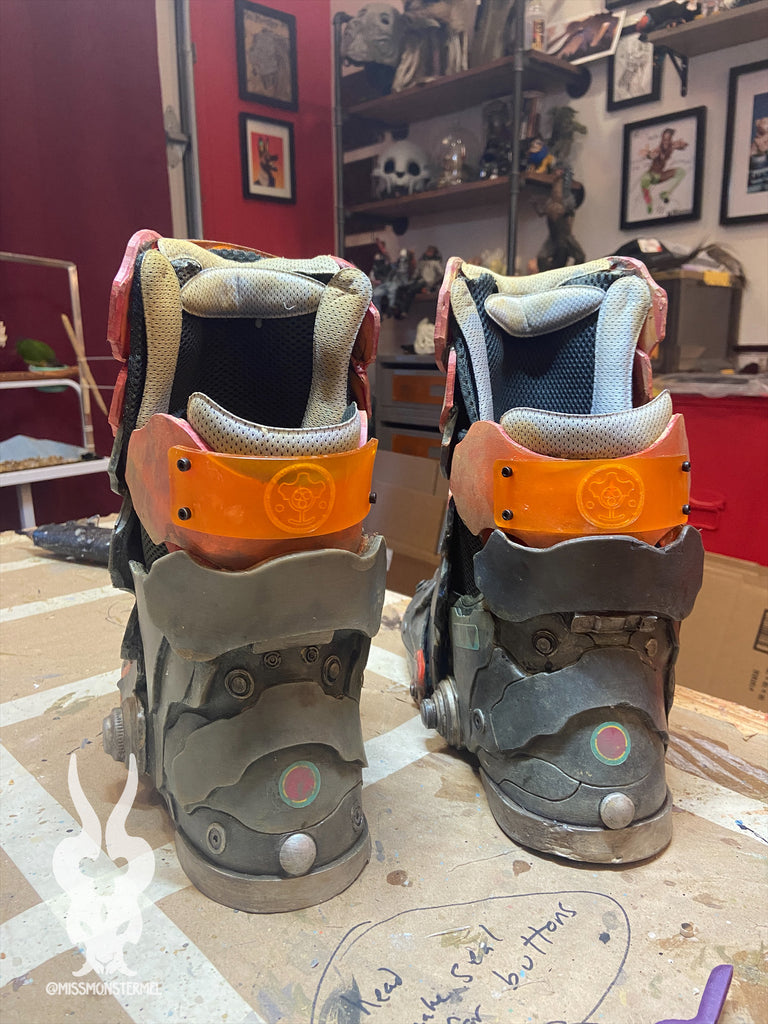
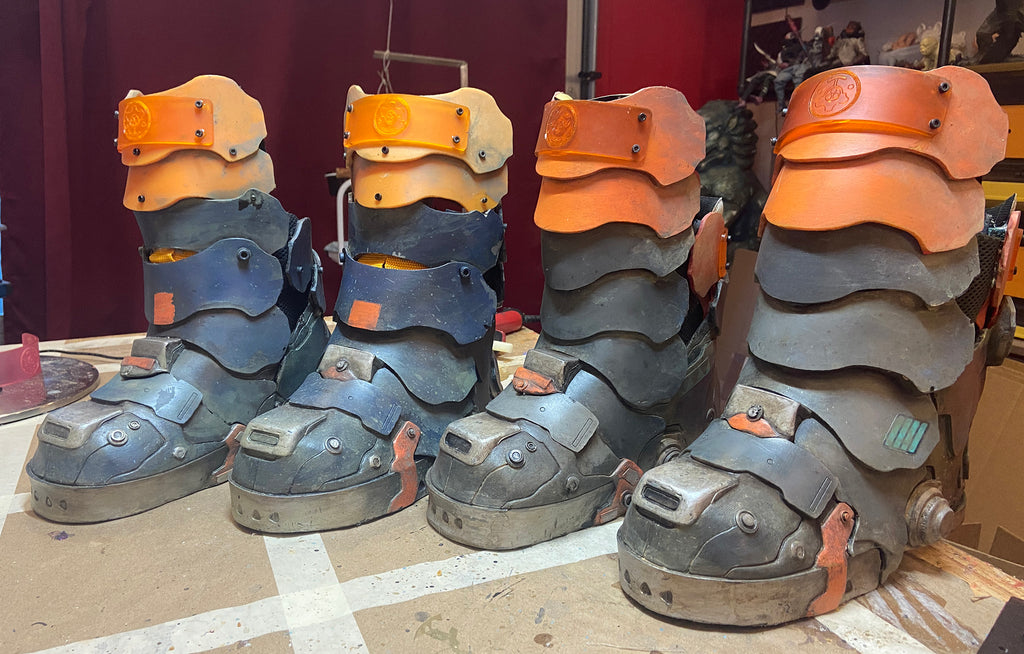
You will get one right and one left boot cover, each cover consisting of 7 parts, 14 total. This is a blank kit and the buyer will need to trim any flash and put everything together. The last few pictures are just to show these boots painted and assembled.
This is the first time I have made a boot cover this elaborate and I had to figure out a lot of new stuff! They are not perfect and there might be a better way to do this. A LOT of time and money went into getting casts/molds to work- (14 mold pieces total for a pair of boots) so at this point i just want to recoup the costs for this experiment!
Some of the edges will cast a bit thick, I use a rasp to carve them down but you can also use a drum sander attachment on a dremel. This wil also roughen the surface for good glue adhesion!
I used 1" and 2" flat elastic to connect the cast parts. A high heat glue gun with industrial strength sticks is HIGHLY recommended. Please roughen/score any parts you will be gluing to get a better glue adhesion. You want the tension of the elastic tight enough to hold the parts together but with enough give so that you can shove your foot in and out of it without ripping elastic from the surface
This is mid way through gluing, i added a long part along the bottom sides of the boot as well:
I added two 2" wide flat elastic bands that go across the toe and heel. Space them apart so that you can have room to move your boot into the cover while also holding the cover onto the boot once everything is in place. Not too tight and not too loose! You can also see where i started gluing in grey soft upholstery foam to help the boot cover stay snug while walking but still allows the foot/boot flex to be put on and taken off.
Here is my boot inside the cover!
Three of the curved ankle parts go on the front of the boot and one on the back- here is a pic with two on the front.
The back one goes on like this:
I use the same elastic/hot glue to attach them to each other and to the boots. Once all of your elastic is attached please use Black Panther from Smooth-On to secure all of the ends of the glued elastic to the surface of the casts. I brush it on with a 1" chip brush (make sure it saturates the elastic and gets to the cast's surface) and let it cure overnight. Don't paint it onto the middle of the elastic as it will ruin the stretch and make the boots less flexible. You just want to use it to secure the ends onto the casts to reinforce the hot glue attachment. Black Panther is a 2 component 1:1 ratio adhesive that is used to repair conveyor belts and is very strong and flexible. It is expensive but is the only thing i have found that really attaches to this sort of urethane that will flex with the material without peeling or cracking off. It can also be used to reinforce any thin spots in the castings.
I also recommend using the Black Panther to paint onto the elastic used across the toe/heel bottom to prevent the elastic from slipping on smooth surfaces when you walk and to reinforce it since you will be walking on the elastic itself on the bottom of your boot.
It doesn't look pretty but it works. This is orange elastic i used with the Black Panther brushed on- i painted more on than i did inside the boot sections since this upper part doesn't need to flex as much.
Once everything is secure and they fit whatever shoes you will be using for them, you can finish the inside by gluing upholstery foam inside using the Black Panther ( use clamps to hold it on while it cured, keep in mind that hot glue will not stick to parts with Black Panther on it)to make sure they aren't too loose and dont slide around too much. I also used mesh fabric and helmet padding to make a more finished look to the inside and to hide the open parts on the sides. Do all this AFTER painting the boots!
Allowing enough flex with the elastic will help you open the boots and slip them on:
If you have issues with paint adhesion, try priming with Army Painter and scuffing the smoother surfaces with a mid-fine sandpaper. I tend to let the original cast color show through anyway so when the paint scuffs off, it just makes it look more beat up and weathered. Acrylics are good to use, clear coat with a nice matte
- A plastic nipper, a rasp , sandpaper or a dremel can be used to refine edges. Here is a little more detailed info. Buyer can add upholstery foam for comfort and fit. Some craft/paint/kit building knowledge is recommended. I cannot provide build help beyond the info included here and in links provided.
- Please be sure to provide the correct address when placing your order, all orders will be shipped to the address im provided with and cannot be changed after the order is placed. No exceptions, sorry!
- There are no refunds on pre-orders.
- Please do not buy a mask if any of the above is an issue!
- This is a project that should be attempted by adults or under adult supervision. Please read all safety warnings on materials you use. I am not responsible for any injuries sustained while customizing these masks.
choosing a selection results in a full page refresh