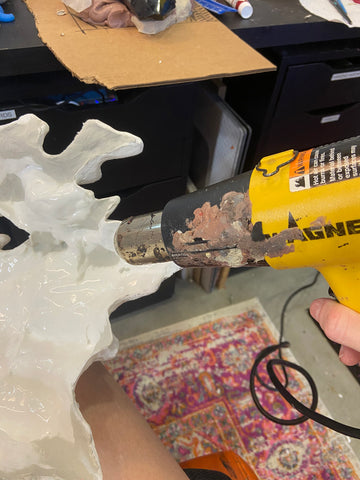
You can use hefty scissors to cut the flashing from the cast- to prevent stress cracking from the scissors, heat the urethane just a bit with a heat gun first.
Fill the inside of the teeth with a lightweight epoxy putty like Free Form Air.
You can use other epoxy putties but Free Form is very light!
Heat up the back of the head piece with a heat gun to fit the horns correctly...
Line the horns into the back of the head where they fit in ( make sure you have the correct horn!) Press and hold until the surface cools. You can clamp it instead of just holding it.
I tacked it in with a little high heat hot glue to hold the horn in.
Then i drilled a pilot hole through the head back and the horn itself , added some JB Weld between the horn and under the head bit where the horn will line up. I used the steel version of the JB weld but perhaps the plastic bond version would have been better..or just super glue! I then lined up the pilot holes and drilled a screw through the top into the horn. Be sure to drill a sink hole for the screw head first! Clamp and let it all cure.
The screw is beneath the surface of the horn because of the hole i made before drilling it in. Now we can hide it!